Category: Tools in the Kitchen

Sprouting

Day One - Soaking

Sprouting is fun! Isn’t it wonderful how the seeds burst open and reveal new life? I love watching and following the process and I can’t get enough of it.  The other thing about sprouting is that anyone can do it, you don’t need much space or special tools, it is easy and exciting. But most of all: sprouts are your alive food which make you come alive!

Added to smoothies, salads or pates, they upgrade each dish to soft crunchiness and increased health. Don’t overeat in sprouts though; one cup a day will provide you more than you can imagine. Because sprouts are beginning life they have to protect  themselves from being eaten before growing by toxins. But don’t let this take you off of them; their benefits are so much higher.

Why are they so nutritious? Because they contain all elements a plant needs to come alive and grow. They are packed with carbohydrates, proteins and oil. After germinating those become amino acids and natural sugars for the plant to develop. When you eat them, they will reveal their life force of enzymes to your body. It is essential to a raw food diet so let’s start sprouting those beauties.

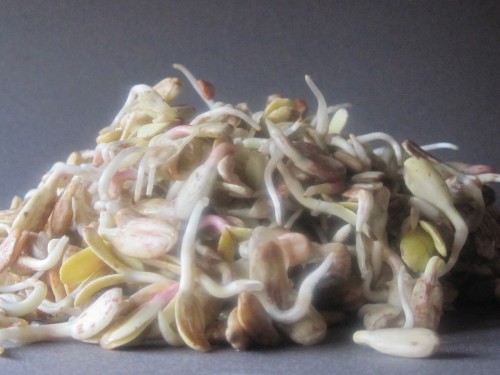
Sunflower Pits after One Night of Soaking

Even if sprouting is easy, you have to know a basic rule to be successful. Seeds need darkness to sprout. If you are having trouble with growing those small tails, think of how a seed is developing in nature. They are mostly covered up with a light blanket of soil where they can gather all their power to reach out for the light.

So if you want to see those tails come out, you have to cover them up with a dark cloth or towel or place them in a dark place at room temperature. But let’s start from the beginning.

WHAT CAN YOU SPROUT?

All seeds such as alfalfa, sunflower seeds, red cabbage, broccoli, fenugreek, celery, oats, radish, leek, you name it.

Grains as wheat grass, barley, rye, millet, rice and buckwheat.

Legumes require a longer soaking time (about 15 hours) because they are much harder. But lentils, chick peas and mung beans are very worth wild waiting for.

WHAT DO YOU NEED?

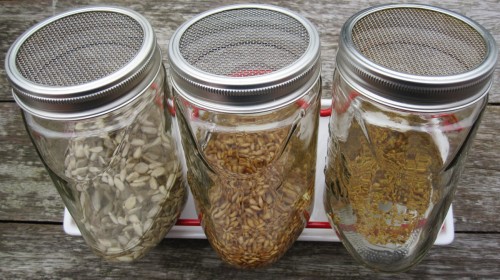
  • Any glass jar will do. Take a few jars for different seeds or grains. Or you can buy a system as you are seeing here.
  • A cheese cloth and a rubber band to hold the cloth tight around the mouth of the jar.
  • Or you can use a sprout bag instead.
  • Organic seeds, grains and legumes.

DAY ONE

Day One - Sunflower, Wheat grass & Alfalfa

  • All you need to do is place one or two tablespoons of seeds or grains to your choice in the jars and cover them up with pure water. If you soak legumes, double the amount; they aren’t swelling as much as seeds.
  • Put them in a dark place at room temperature overnight.

DAY TWO

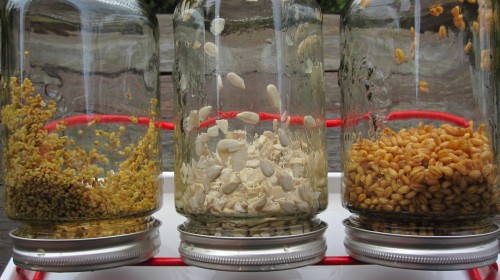
Alfalfa, Sunflower and Wheat grass Day Two

  • In the morning, rinse the seeds very well and turn the jars upside down so all the water can leak out and the seeds won’t get a chance to get mold.
  • Rinse 2 to 3 times a day. If the weather is warm, rinse more often.
  • Always turn the jars upside down and cover up or place dark.
  • Depending on the kind of seed, you will already notice some tails ready to come out

DAY THREE

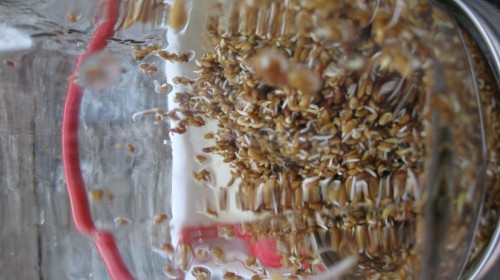
Wheat grass Day Three

  • Continue rinsing and draining.
  • Some sprouts will be ready, others will need another day such as wheat grass.

DAY FOUR

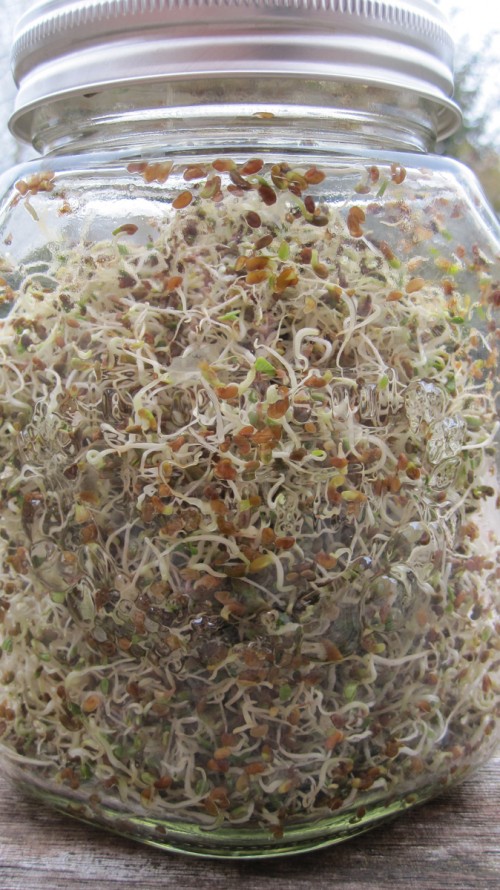
Alfalfa Sprouts on Day Four

  • Are your sprouts having nice tails? Then they are ready to come into the light!
  • Place the jars upside down in bright light, preferably in the sun light.
  • You will see photosynthesis take place and watch your sprouts turn green in only a few hours.
  • Keep them in the light for a whole day until they are nice and green
  • Store them in a sealed container in the refrigerator. They keep well for about a week. But don’t wait that long; just eat them to benefit fully their life forces!

Isn’t it amazing how much alive and nutritious food you can grow of almost nothing?
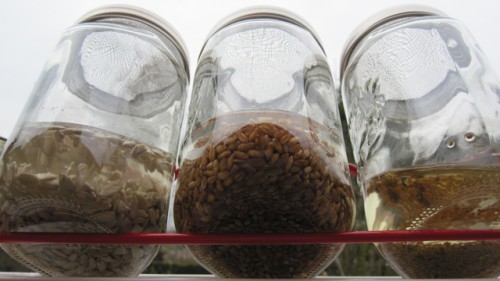
Sunflower Sprouts

Perfect Pineapple

I found a great tool to cut the perfect rounds out of a pineapple and because we all want to spend our time in the kitchen as agreeable and fun possible, I want to show how you can play with it.

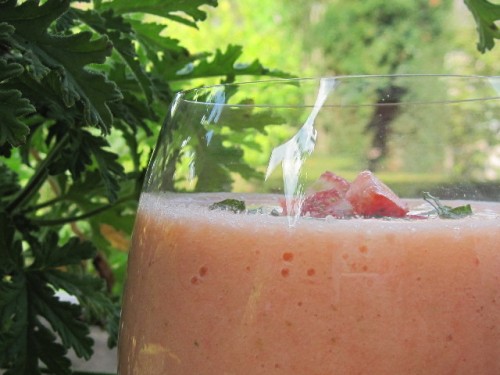
Pink Pineapple Smoothie

I love pineapples! No other fruit has this merged taste of sweet exoticism and a touch of acid. I add them lusciously to my smoothies, make juice of them, eat them as a mono meal in the morning or throw small pieces in a green salad. But they have to offer so much more than just beauty and taste!

Pineapple is about the most healthy fruit you can imagine and you will indulge your body as much as your taste buds with their healing power. Pineapple provides you a lot of manganese for the bones and tissue, a treasure of Bromelain with its anti-inflammatory, pain relieving (for the joints due to osteoarthritis)  and cancer fighting properties. Never throw out the middle hard part of the pineapple; this is where the Bromelain is located.

One warning though. Be moderate with Bromelain and don’t use it longer than 8 days in a row; it can provoke allergic reactions. Also never go on a diet purely existing of pineapple; it can ruin your stomach forever! If you are pregnant or suffering from disease, consult your doctor before eating Bromelain: it is a very intense nutrient and you first want to know what it’s influence might be on your body with specific conditions.

I myself can’t eat too much pineapple in one time; two rounds are my limit or my mouth and tongue get irritated. In a smoothie though, I can add more. You have to find out for yourself how much you can have. Other than this, nothing but great things happen when consuming this lovely fruit.

What else? Oh, getting a cold and coughing a lot? Having trouble with your digestion? Suffering from sinusitis? Feeling sick in the morning? Juice a fresh pineapple and let the results surprise you. I’m sure I am forgetting a bunch of benefits but I am eager to show you the play tool.

Pineapple Tool

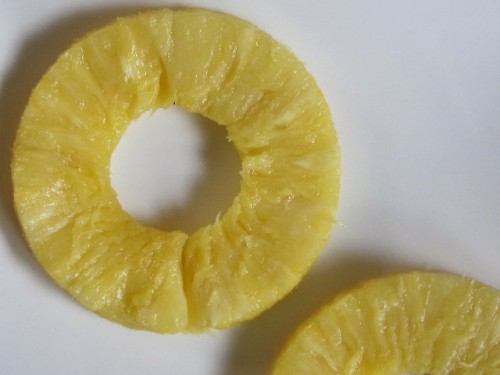
This is it! Small, easy, cheap and fast when you forgot to slice up the pineapple when your guests are already arriving. It will make the perfect rounds and impress them how well you did on this difficult and juicy job. No more rounds with six edges!

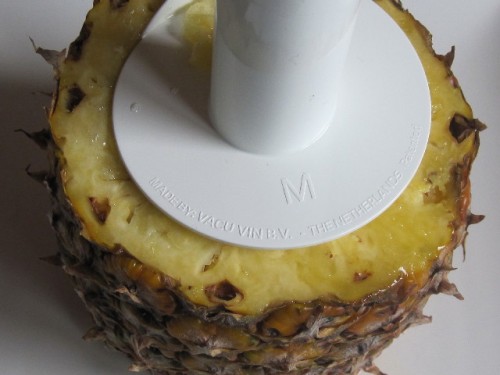
Place your tool on a flat side

First slice the two ends off the pineapple with a sharp knife. Put the pineapple on a flat plate (it will lose juice that you can recover when you are finished) Then put the toy on top of a flat side.

Start turning

All you have to do now is turn the handle while slightly pushing until you reach the bottom…. which takes about fifteen seconds…

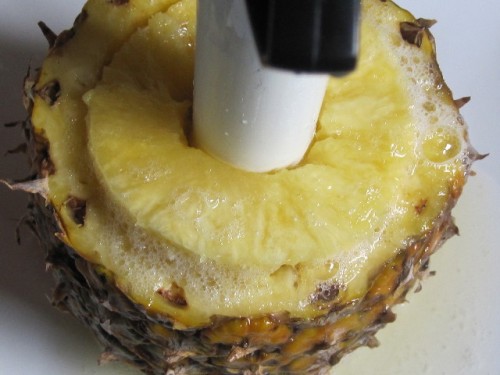
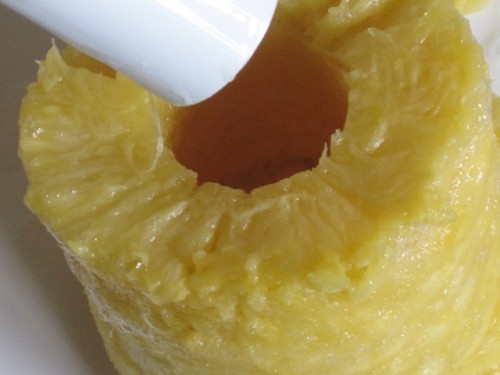
Take out the tool with the pineapple

When you reached the bottom, take all out. You will see, the pineapple is wrapped around the stem of the tool. My pineapple was a little over time so very juicy and a bit hurt. When your pineapple is very fresh, the flesh will be firm and nicely cut.

Take out the tool

Take out the tool. Looking great!

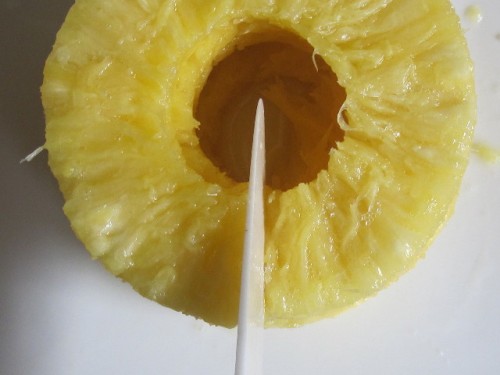
Cut

What you have now is one long spiral. Cut it all in one stroke.

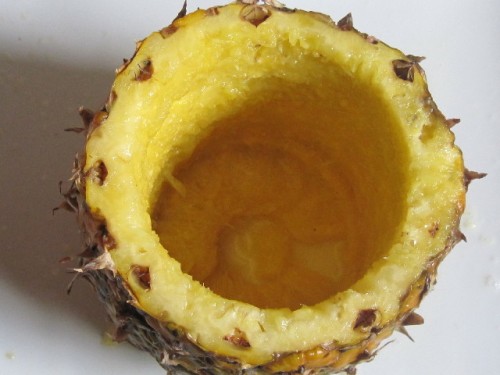
The peel

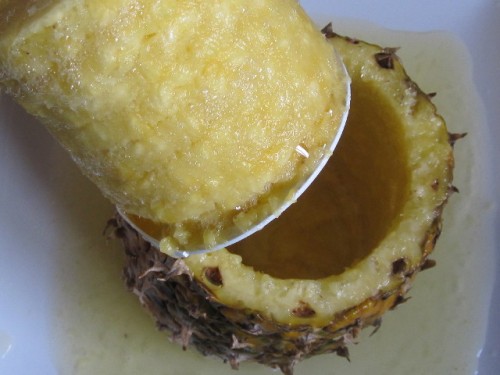
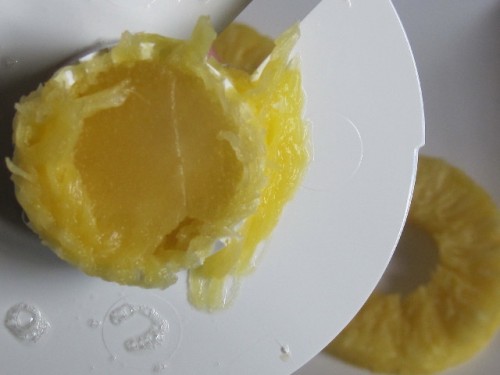
This is what is left over. I scraped out some more flesh for my smoothie .

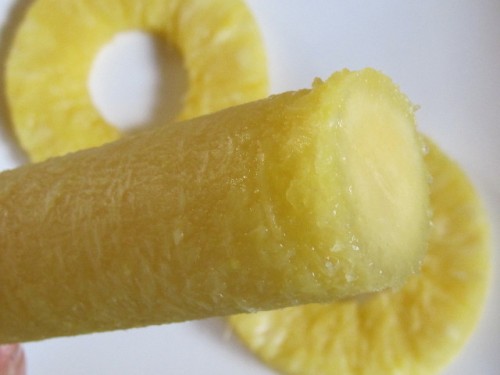
The stem is in here

The hard part filled with Bromelain is inside the tool. You can remove it very easily by pushing it out with the back of a wooden spoon. This will make a healthy smoothie!

The middle part after you took it out

This is how the middle part looks now. Ready for use AND you have lovely rounds to show off with.

That's it!

Wish I had a fresher pineapple because it is a little hurt. (I had so much fruit and left it too long on the counter) But you get the idea. Enjoy playing in the kitchen!

I will post you the 1,2,3 recipe of the Pink Pineapple Juice in a few days!