Tag: Recipes

Juicy Crackers

Juicy Crackers

When you juice a lot you will often wonder what to do with all the pulp. Throw it away in a garbage bag? Throw it out on your compost? Feed it to the pets? Crackers are a wonderful, tasteful, economic solution and will save you a lot of money.  Just think of what one small pack is costing and you will know how much.

Juice all day long and make a tray in the early evening for a nice and warm breakfast the next morning. This makes a lovely recipe for early, dark winter mornings when you are aching for some warm comfort while the house is warming up.

The principle is very easy and you can add whatever you like. As each juice and the variety of  juices you make throughout the day is different, each tray of these crackers will have its surprising tastes. A good timing to make a new batter is around 5 or 6 pm or when you stop juicing. You will still have the time to flip your tray after the first drying period of 4 to 5 hours. Then you can go to bed with a smile. The dehydrator will do the rest overnight while you are having juicy dreams.

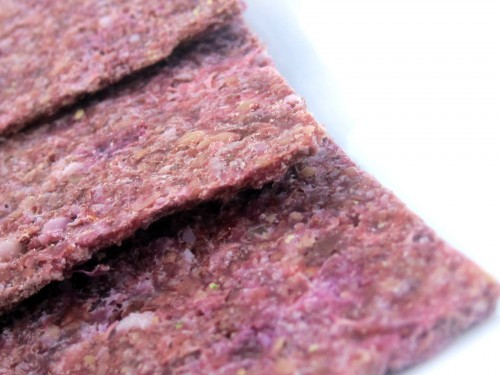
Deep Purple

TOOLS YOU NEED

  • A juicer
  • A dehydrator or oven
  • A large bowl
  • A wooden spoon or a spatula

INGREDIENTS

  • The pulp of your daily juices
  • 1-2 C grind flax seeds
  • 1 C grind nuts to your choice
  • Herbs and seasonings which fit to the taste of the pulp
  • Sea salt to taste
  • Some pure water or original juice, depending on how much pulp you have

THE MAKING OF…

  • If you like your crackers  with a “clean” color, don’t mix the pulp of the different juices you made but separate them
  • If you don’t mind mixing, stir the pulps until well mixed
  • Grind the nuts you like in your crackers and throw the flour in the bowl with the pulp
  • Add the herbs and seasonings you think will fit with the taste of the crackers, spicy, Mediterranean or sweet…
  • Taste, taste, taste and adjust until you say “Mmmm!
  • Grind your flax seeds and mix everything very well
  • Now add the water or juice you need to have an easy consistency to spread out on your tray
  • Spread the batter on a teflex sheet or parchment paper and make squares so you can break them easily when ready
  • Place the tray in your dehydrator
  • If you don’t have a dehydrator, you can use an oven on the lowest temperature, not higher than 118°F or 42°C . Leave the door a little bit open so the water can evaporate and your crackers will be crunchy
  • If you put your tray in around 5 or 6 pm, you can still flip it over after 4 to 5 hours
  • Let it dehydrate until the next morning and they will be perfect for breakfast

Try out what you like. This basic principle works for every pulp and you will have fun creating your own recipes. Enjoy your creations!
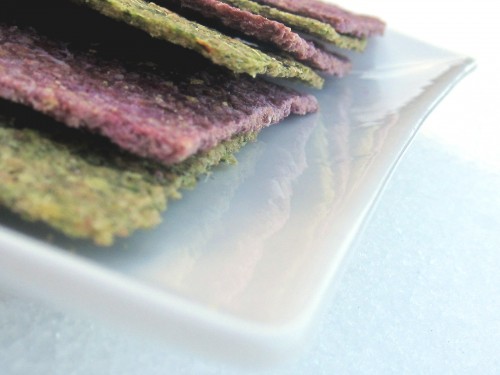
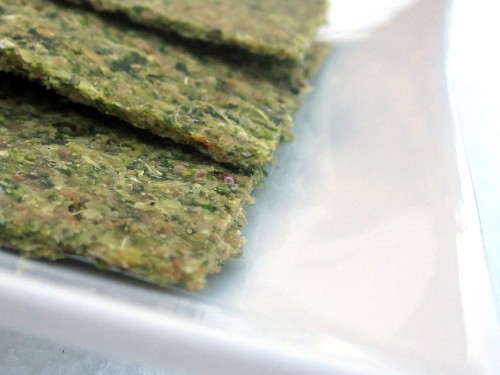
Green Juicy Crackers

Ravishing Raw Chocolate Ice Cream

Chocolate Ice Cream

If there is something that can help you stop craving on a hot summer day, it is ice cream. With this lovely creation in your freezer, you can easily resist the ringing sounds of ice cream cars passing by your house. You will be all smiles because you know you have something much better waiting for you.

When I say ice cream, I mean the real thing. If you have no ice cream maker, you can blend frozen fruits and make the most lovely one-minute- sorbets in the world. This is how I did it… until just now. Since I got this wonderful equipment for my birthday, I am hooked on trying out all possible combinations with flavors and what my garden is offering me. The first spoon I took was a real revelation. I had never tasted such a full ice cream flavor and texture. Nothing can exceed the creaminess of a raw ice cream, made of sweet cashew nuts and fresh picked fruit in your garden or… pure chocolate!

This recipe is based on one of Sarma Melngailis. I was totally new at making ice cream two weeks ago. So I started with an existing recipe and am trying out things now. For this recipe I left out the coconut. It is not always as simple to find them and I rather taste the chocolate. Add some more coconut butter instead to have a hint of memory to coconut. I prefer discrete tastes above an insistent flavor. This is the way you can start looking for your own preferences. Just try and taste.

An ice cream maker doesn’t have to be expensive to do an excellent job. You can purchase a regular one for about $30 or $40. Even Cuisinart is very affordable here. So if you have a celebration coming up, put it on top of your list or just buy one yourself to treat yourself on a healthy and easy to make snack or dessert. Here comes your good mood food!

Preparation to think of first! To receive a smooth ice cream texture, it is always necessary to soak the nuts you are using, even cashews. Soak one cup of cashews for about four hours or longer in filtered water or spring water. Do this in the morning, when you get up. If you have to work, your cashews will be ready for use when you get home and feel like making something special.

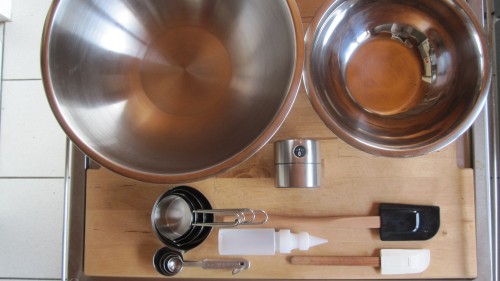
Tools You Need

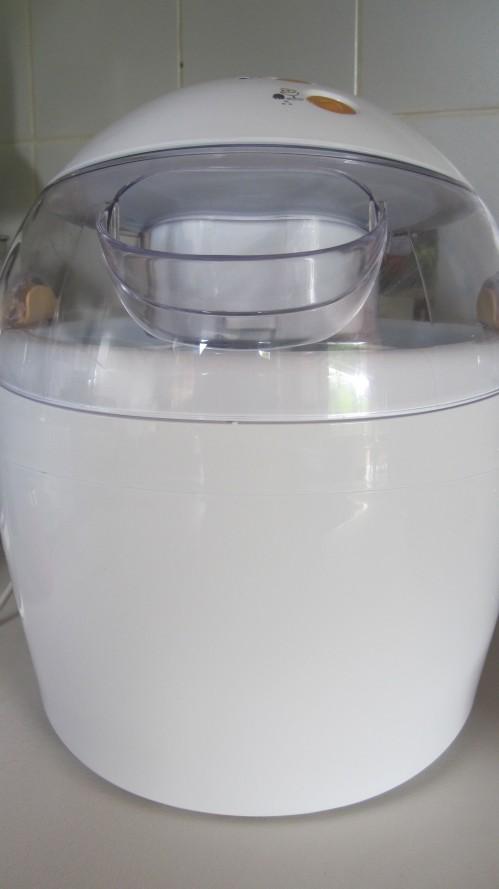
Ice Cream Maker

* An ice cream maker. Even a cheap one will do just fine and delight you with the real thing you have been longing for.

* A blender

* A small and a large bowl

* Measuring cups

* Measuring spoons

* A whisk

* A timer

* Some spatula’s, small and big

* A small bottle to apply chocolate sauce. If you don’t have one, take a square piece of paper, make a funnel of it, and cut a small tip off at the smallest end. Now you can draw with the sauce on your plate. Or simply use a spoon.

Tools You Need

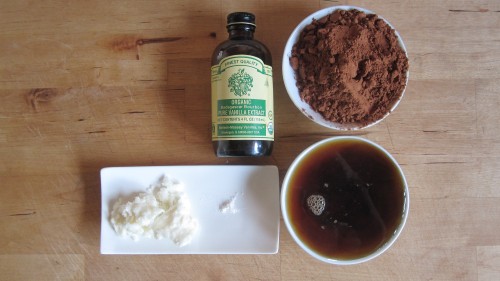
Ingredients for chocolate sauce

Ingredients for chocolate sauce

* 3/4 C raw cacao powder

* 3/4 C Maple Syrup or Agave Nectar (Maple Syrup combines great with chocolate and gives it an extra dimension)

* 1/2 tsp. vanilla extract without alcohol

* Pinch of sea salt

* 2 TBS melted coconut butter for a full flavor

The making of chocolate sauce

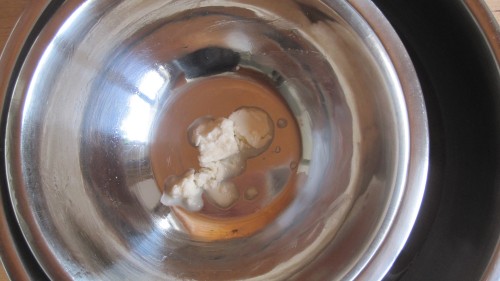
Melt the cacao butter

Always start with the part where you have to prepare food. So first melt the cacao butter while you are working on the next step. This will save time.

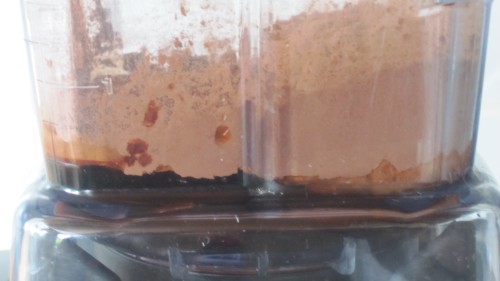
Blend all ingredients except for the cacao butter

Now blend all ingredients at lowest speed, except for the cacao butter. By the time this is done, the butter is ready.

Add the liquified cacao butter slowly at the slowest speed. Your chocolate sauce is ready! Take a lick! Ever tasted this?

Take the sauce out of the blender but don’t clean the blender. It’s all meant to come together and you don’t want to spill anything of this goddess sauce.

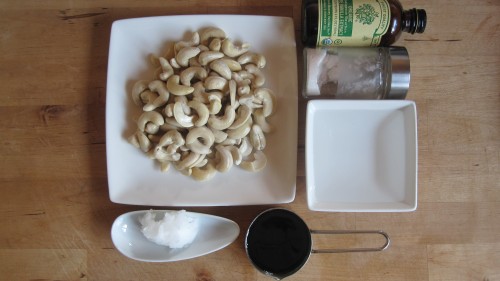
Ingredients for ice cream

Ingredients for ice cream

* 1 C of soaked cashews (they have soaked in water and became bigger)

* 1/8 C of coconut oil

* 1/2 C of spring water

* 1 C Agave Nectar

* 1/2 tsp vanilla extract

* 1/4 tsp of sea salt to bring out all flavors even more

* 3/4 C of the chocolate sauce you just made

The making of ice cream

First melt your coconut oil “Au Bain Marie”

Blend all ingredients except for coconut oil until very smooth!

Add the coconut oil slowly on lowest speed.

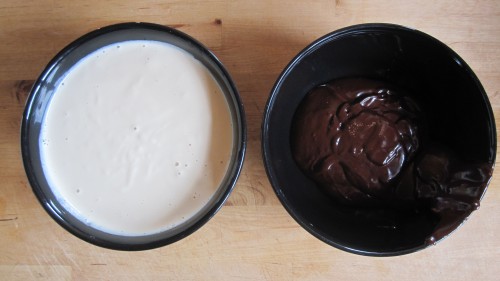
Cashew Creme and Chocolate sauce

This is your cashew creme and chocolate sauce. Keep a bit of the chocolate sauce aside to add lusciously on your ice cream later.

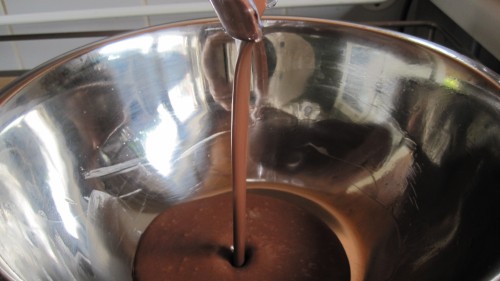
Mix both emulsions together in your blender until they are one. Done!

Chocolate Ice Cream Before Freezing

Set aside a few hours in the refrigerator till the mixture has cooled off.

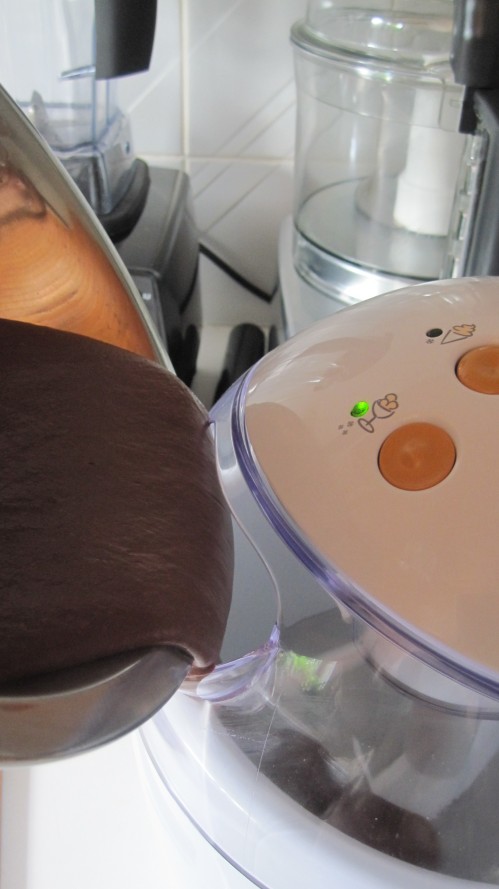
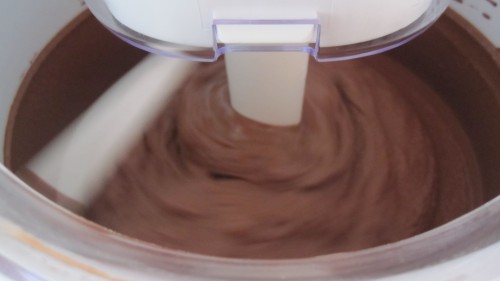
Poor into the ice cream maker

All set to go. Follow the instructions of your ice cream maker. Usually you have to turn on the machine before you start pooring. Than let the machine do the work.

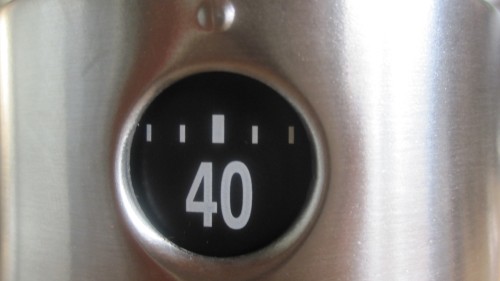
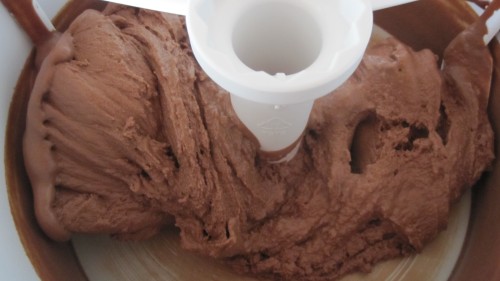
Forty minutes for firm ice cream

Set the timer; twenty minutes for soft ice, forty for scoop ice cream.

Coming!

Peeking after about ten minutes…

Ready!

Ready to taste! Heavenly! You can take a scoop and treat yourself already. Put the rest in the deep freezer.

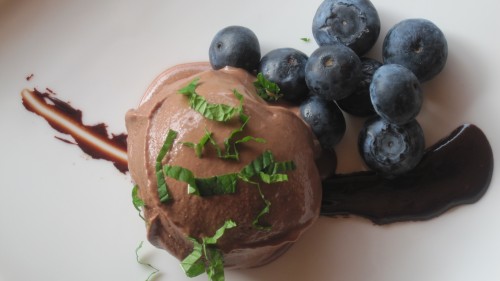
Chocolate Ice Cream